Methods to Run a Macro in Microsoft Office Applications
This article is a work in process.
Someone has provided you with code, but the only way you know how to make the code run is through Tools Macro Macros and double-clicking it. You wonder why you should use a macro when it's so hard to run it. There's a bunch of different ways to run macros, so I'll show you how. I provide the methods in what I feel are easiest to implement to most difficult.
Distributing Macros Through Add-ins
If you're developing an add-in that you want to provide to other users, then your best bet is to build a toolbar or menu item using VBA. Here is one knowledgebase entry from VBA Express that explains how to do it in Word; and one to do it in Excel.
Keyboard Shortcut
The different applications work slightly differently.
Word
- From the menu, choose Tools Customize.
- From the Commands tab, choose the Keyboard button.
- From the Categories column, choose Macros. Any macros available should appear on the right-hand side.
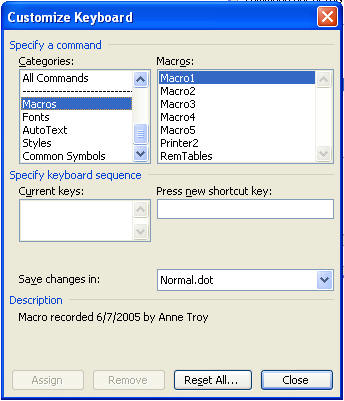
- Change the Save changes in box to the file in which you want the keyboard shortcut to apply, which is also usually the location of the macro code.
- Click inside the Press new shortcut key box, and type the shortcut exactly as you would to run the macro. Be careful! If you're distributing the file, you may want to stick to the use of Alt or Ctrl+Shift shortcut keys so you don't take over typical Windows shortcut keys, such as Ctrl+C. Hit Close.
Excel
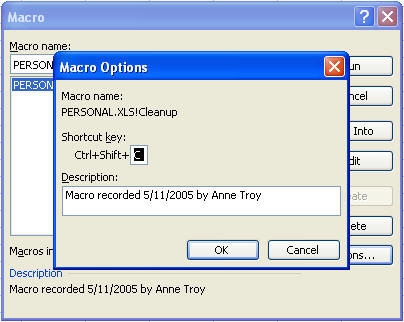
- From the menu, choose Tools
- Hit the Options button.
-
Here, type the letter or both the Shift key and the letter that you want to choose to run your macro. There is no need to also use the Ctrl key, though it will be necessary to run your macro. Hit OK.
Outlook
The only way to run a macro in Outlook by using a keyboard shortcut is to create a menu item for it. See "From a Menu".
PowerPoint, Access, and FrontPage
I am unsure about these, so I'll leave it for someone to send me a fix/update message or until I find the best solutions.
Menu or Toolbar Button
- From the menu, choose Tools Customize. The Customize dialog will appear. Make sure you're on the Commands tab.
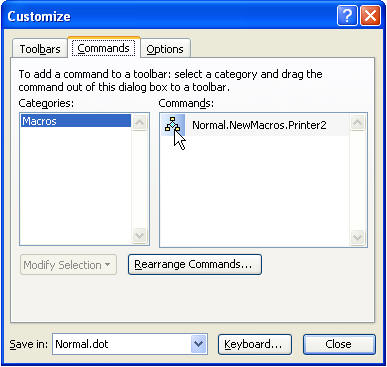
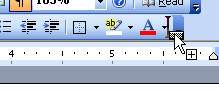
- In the right column, you will see an icon with a title similar to your macro's name. Click on the icon and drag it up to any location you choose on any toolbar you choose. Your mouse pointer must have a plus sign (+) hanging on it before you lift your finger from the mouse or the icon will not be placed. (While dragging, you will see an X hanging on your mouse pointer.)
- Once your icon is placed on a toolbar, click the Modify Selection button, and various options will appear. The following describes only those options that apply for our purposes here:
Name: Type in the name of the macro as it should appear on your toolbar if you are going to use the text style button (described below).
Reset Button Image: Select this only if you have begun to edit an existing button image and you would like to reset it to the default.
Edit Button Image: Select this option to "draw" your own button image.
Change Button Image: Select this option to change the existing button image to one of your choosing from Office's collection of button images.
Default Style: Clicking this button makes the button on the toolbar show just the icon and no text.
Text Only (always): Clicking this button makes the button on the toolbar show just the text as it is shown in the Name box, which you can change.
Image and Text: Clicking this button makes the button on the toolbar show both the icon and the text.
Text Box, Shape, or Graphic
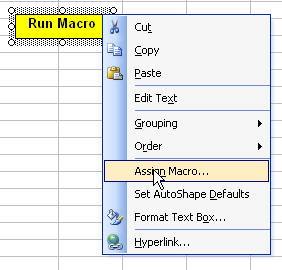
To my knowledge, these only work in Excel, but these are fantastically easy. Insert a graphic or, using the drawing toolbar, insert a textbox or shape. You can make any Excel file look like an application by using textboxes or graphics to run your code.
Right-click the object's border and hit Assign Macro. Choose the macro from a list provided.
Macro Button
In Word, we have the option to run a macro when someone clicks on text.
-
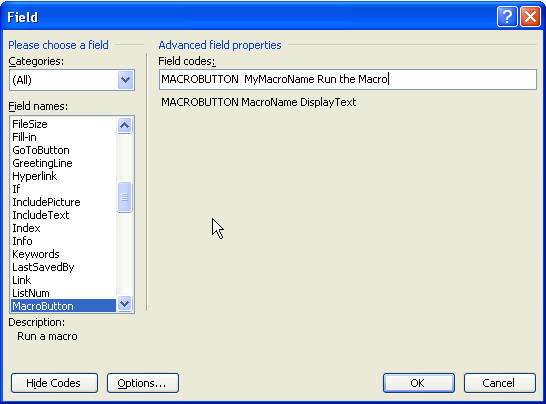
From the menu, choose Insert Field.
-
From Categories, choose All; from Field, choose MacroButton.
-
Hit the Options button.
-
Replace what is displayed with the necessary information. As you can see above, the macro to run is called MyMacroName, and the text to display (which the user will click on) is "Run the Macro".
Command Button
This is the more standard method used by developers. What I don't like about this method is you either have to move your code or change your macro name, and this can be confusing, but I'm going to give it my best shot.
-
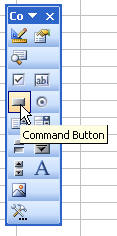
From the menu, choose View Toolbars and choose the Control Toolbox.
-
From it, click on the Command button, then draw a box the approximate size of your button in your document or spreadsheet.
-
Right-click your command button and choose Properties.
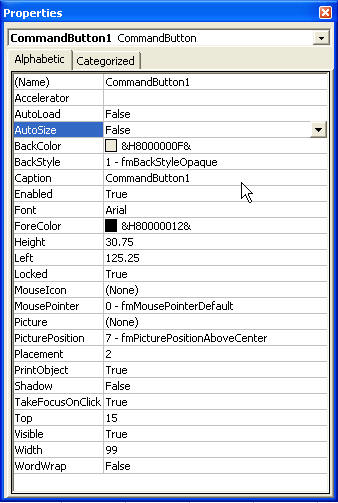
-
You can rename your command button; the Caption is the text that appears to the user and is displayed right on the button. You can change color and font, etc.
-
Double-click the command button to create a sub for it in the Visual Basic Editor.
-
Paste the appropriate code between the Private Sub and End Sub lines.